
How to Set Up All About Reading So You Can Use It Again

I cannot guarantee that my method saves any money. BUT - IT SAVES TIME AND MY SANITY - esp. since I have three kids in three separate grades.
Heads up: This post contains affiliate links. That just means, if you use one of my links to a product, I may earn a commission on that purchase, but it won’t cost you any extra money. Learn more.

I plan to use each level of this curriculum 3 times, and I’m terrible at night-before or week-of prep. I do far better with a project that I prep well in advance so that when school starts it is just open and go. #lazy
Not sure what All About Reading is? Check out this post first: All About Reading Curriculum Review.
This is how I set it up to REUSE all the materials with each kid.

Supplies
I pre-assemble the activities in a large 3-ring binder before we ever start the next level.
The student book that comes with each level has lots of hands-on manipulative games to reinforce the concepts being taught throughout the book. I hate collecting and assembling lesson pieces on a daily (or even weekly) basis. I would much rather have a huge “project” where I gather everything for the whole year at once, spend several hours, and get it all done. Then when we are in the middle of a busy homeschool day, I can just grab it and start teaching.
You Will Need:

Colored Dot Labels in colors that coordinate with the AAR levels - blue, green, red, purple - something like these. (The ones I bought are no longer available.)
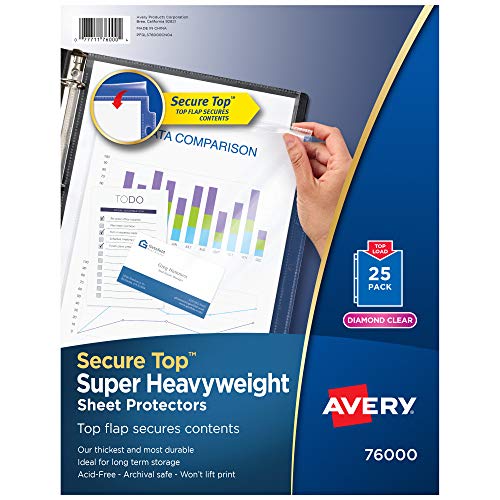
THESE!! —> Heavy Duty Sheet Protectors with secure top flaps - Avery 76000 are your friend.
The old “heavy duty” ones I originally used didn’t actually hold up - and I ended up having to tape the bottoms with packing tape to keep the game pieces from falling out - not to mention that you have to keep the pieces from falling out the top.

Three-Inch 3-ring binder with clear-view covers for each level you wish to prep - the AAR colors in order are: 1 - Blue, 2 - Green, 3 - Red, and 4 - Purple. Feel free to use any color binder you want, but don't skimp on the binder size! You WILL need a 3-INCH binder.

All About Learning Press now has downloadable binder inserts (including the side view!)….so you could just grab a bunch of binders like these and add in their covers and spine inserts. Or you can use binders you already own and not worry about the color with these inserts.
If you want to prep them all at once, here is a set that has blue, green, purple, and pink (sadly no red). You can always buy each individually - here’s an Avery brand binder that has all colors sold individually.

Paper cutter (If you don't have one - go buy one before you start! It will save you hours of time! And will be worth every. single. penny.) This is the one I have. It has worked well for several years for my homeschool mom and tutoring needs for a decent price.

Scissors (You'll probably find it's faster to cut out a few of the smallest pieces by hand.) Here’s some that are well-rated and I THINK I have had some of these before - I may have bought them at Costco. But, if I see “titanium” on the scissors I feel like they are really good ones.
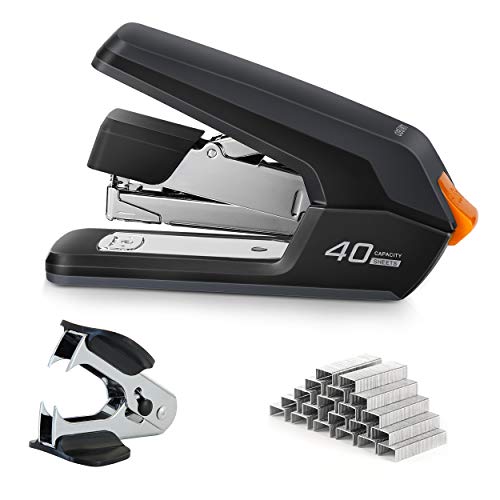
Stapler (a few of the activities you’ll be prepping are “flip books”). If you need a good stapler, I love mine that has the reduced effort - this is not the same one, but looks similar and is highly rated for a decent price.
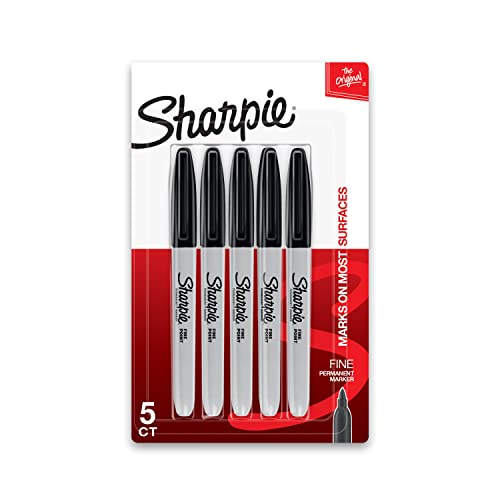
Sharpie (fine/medium point)
I use these to mark the circled labels with the lesson number before putting it on the page protector.

OPTIONAL: utility knife (aka box cutter)
This comes in handy along with a mat to cut on (if you have a craft mat similar to this one).

Some of the games involve sliding smaller pieces of paper through larger pages & you will need to cut a straight line in the middle of the page. BUT - you can ALWAYS just use scissors and slice the lines with the tip of one blade on a cutting board. Don’t buy a craft mat or box cutter JUST for this!
Prep the Binder
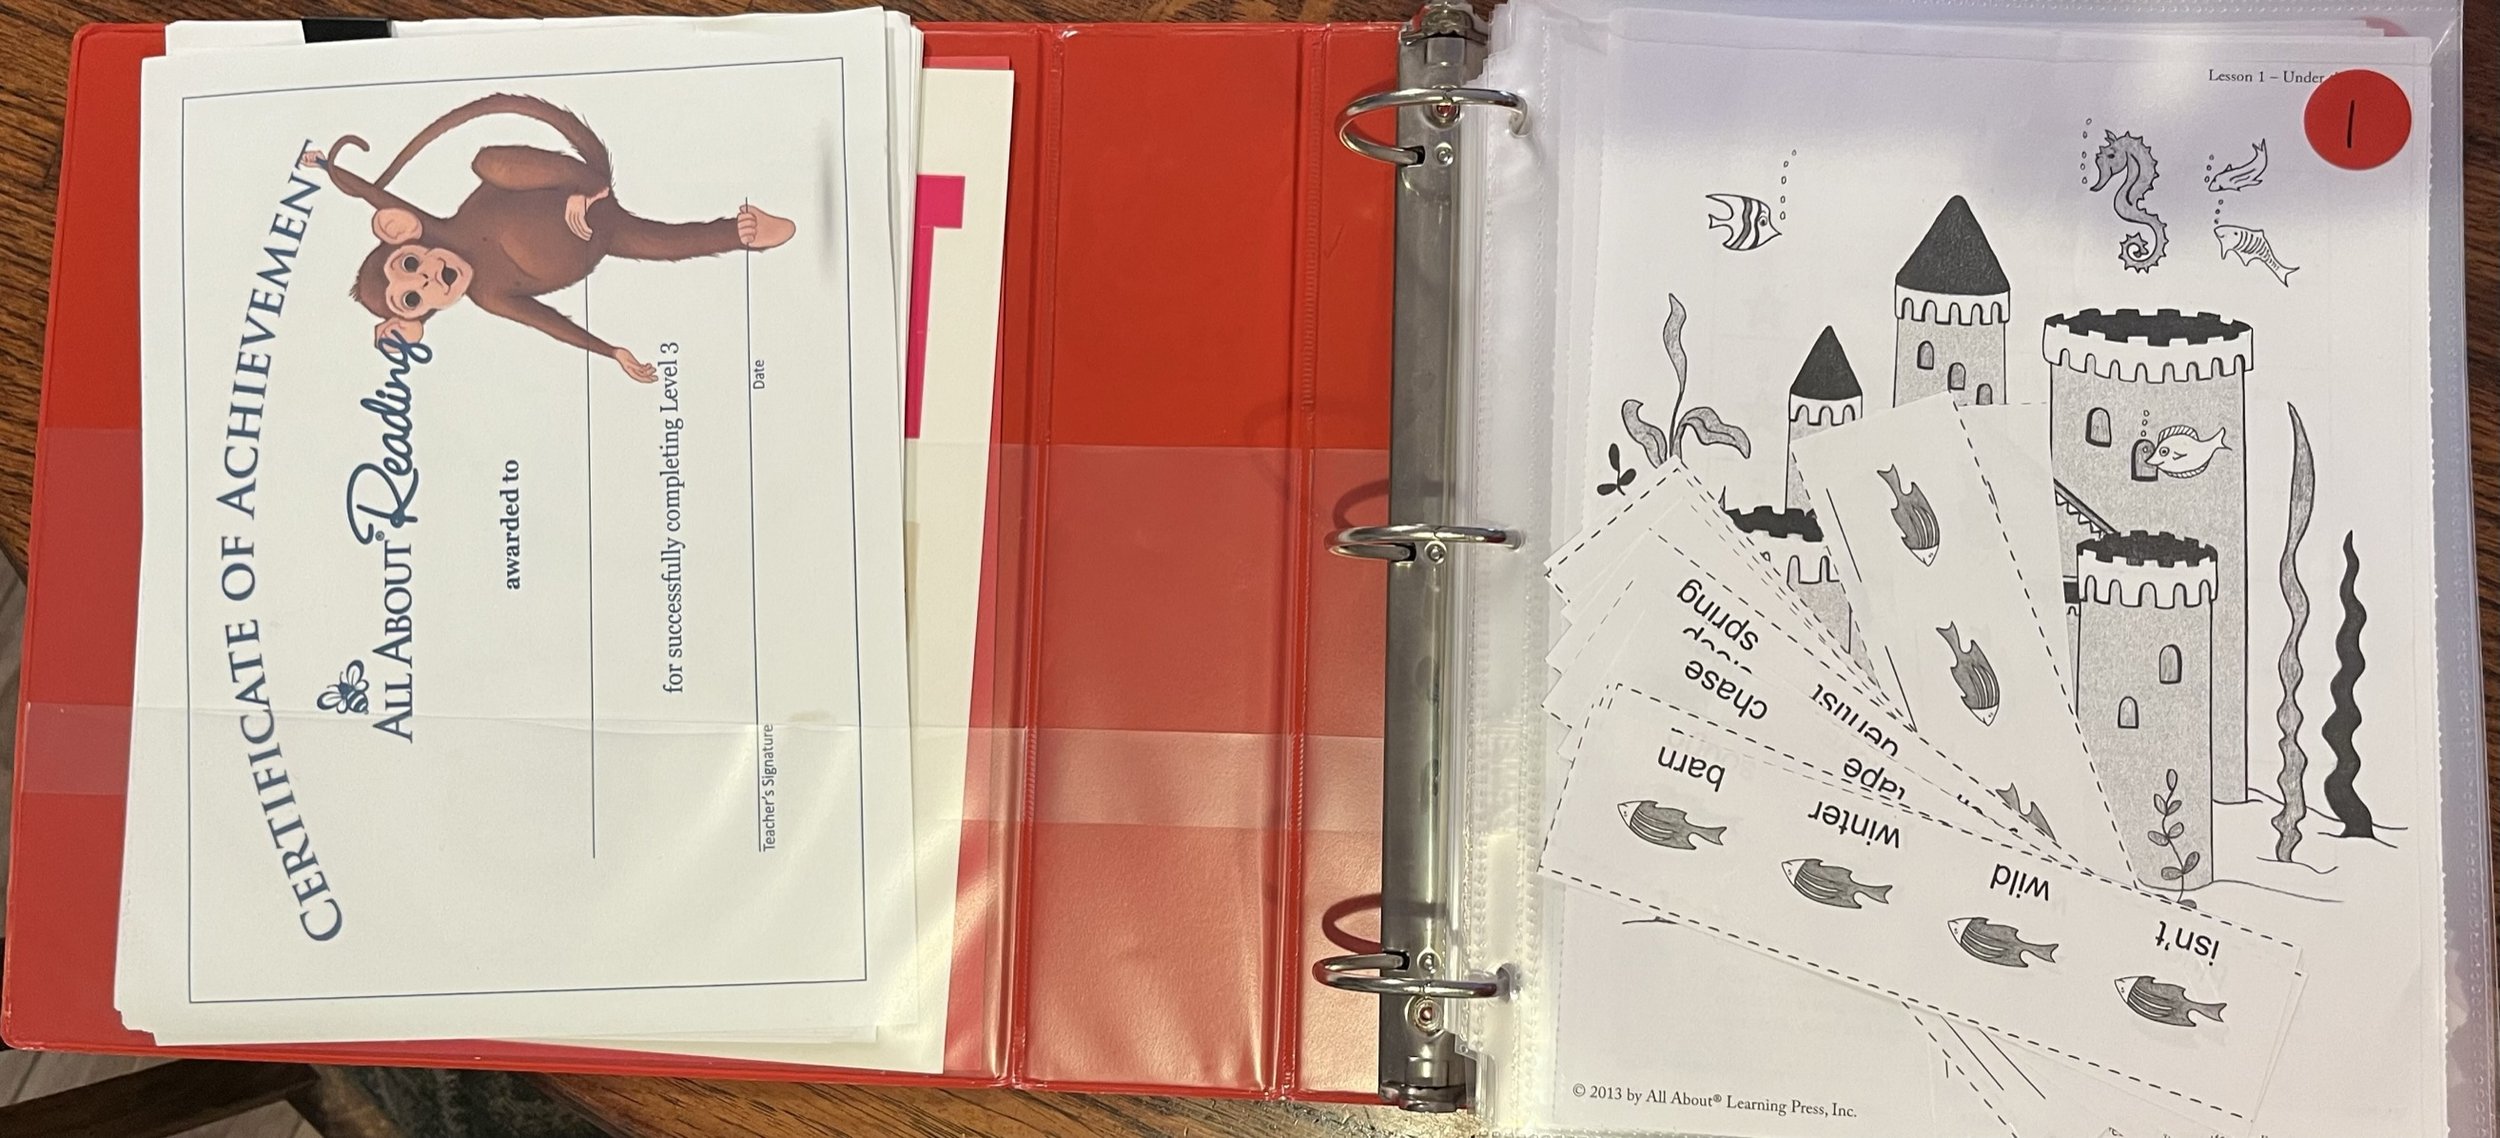
Here’s a picture of the binder opened up. I stick any extra copies or loose pages like the end of year certificate. in the front pocket. Then each lesson goes in its own labeled sleeve.
Put the sheet protectors in your binder. Make sure the flaps are on the top and facing backwards - so you can put the label on the front.
Label the sheet protectors. Write #'s on the colorful dot stickers that correspond to the lessons for your level. My thought process behind labeling everything in color is so that when I have two (or three) kids using varying levels of AAR, and I find a random lesson sitting around, I can quickly identify which binder it belongs in. Each page has the AAR level and page number on them - very small. So, the big colored labels are quick and easy to see.
Place the stickers at the top right of the sheet protectors (so you can easily flip through to find your lesson).
Demo Time
One lesson at a time, carefully tear out the sheets of the STUDENT ACTIVITY PAGES along the perforations. (DON’T tear up your teacher’s manual!!)
Cut any activity pieces out and place them and the fluency sheets into the pre-labeled sheet protector for that lesson.
A few of the lessons will require you to staple little flip-books together. I suggest doing that now as well and placing those booklets in the sheet protector as well.

I just stick the booklets in the sheet protector along with the full-size pages for that lesson.
Check the BACK of each activity page for cutting and folding lines. Some pages are activities that involve the kid putting a small paper through a slit in the larger one (thus the utility knife mentioned above).
Make sure the flap is closed and you won't have to worry about all your activity pieces falling out and getting lost - or better yet, cut up by your toddler!
Finishing Touches & Time Savers

My Completed Binder
I like to use the cover of the teacher’s book to make the binder easy to recognize. I either write the title on the side, or I make a copy of the title page and stick it in the binder side sleeve.
BUT - All About Learning now has a set of BINDER covers and spines you can download here.
Tear the front and back flaps off the student book (or use the downloadable inserts) and place them in the front and back of your binder. I like to use my paper cutter to trim and straighten the torn edges before putting it in the binder.
Put your name on the front if you plan to take it anywhere out of the house.
Add a dot sticker with your name to the readers if you don't want to write your name in the books themselves for future resale.
DON’T laminate the flashcards - I don’t believe it is necessary. They are printed on cardstock, so the cards hold up well. If I had seven kids I might think differently, but I have three and they have held up fine so far.
If a few cards get ruined, each AAR level comes with some blank cards that you can use to make your own. Also, you can always re-purchase a set of flashcards if necessary down the road.
DON’T laminate the game pieces - I started to do this in the first level but then found that it wasn’t necessary and just wasted a ton of time. Most of the games in the curriculum we have only played once or twice. And then we moved on to the next lesson and there was another game to play. So, even though the games are printed on regular paper from the student workbook, it shouldn’t be a problem to use with a few kids.
Other Suggestions:
The App
Consider whether you'd prefer to use the letter tiles app or the magnetic tiles that come with the “reading interactive kit.” Here is a link to view the interactive kit and the Letter Tiles App (scroll down to the bottom of the linked page). I have found the app much simpler to keep up with (on my ipad). If you buy the app, you don't need to prep the tiles! You're welcome- there's an hour of your life back!
If your child really prefers the physical tiles by all means use them!! But, if you’re overwhelmed by keeping up with all of them or are limited on space, consider the app. It is an extra expense, but once you buy it you can download the app on multiple devices (through your family account).
Teacher’s Guide
Get your teacher's guide spiral bound at a print shop. Call ahead to confirm they can cut through the thickness of the binding though - as some stores only can cut through smaller workbook sizes and aren't equipped to cut through the thickness of the AAR books. I’ve used a FedEx Print/Ship center. But again, call ahead to confirm esp. if you have to drive far.
If you have it bound, consider putting a plastic cover and a plastic backing on it. I purchased the clear-ish plastic cover with the cardstock backing from FedEx, and the backing tore off within the year, so the next time I had them put a plastic “cover” on each side of the manual. I don't want my manual to tear up before I finish with all three kids.
If you don't want to spiral-bind the teacher's guide, another option to make it sturdier is to put contact paper on it. This is what I did with my Pre-Reading level guide, and I'm pretty sure that's why it didn't fall apart. (I'm hard on books…and shoes…and everything...)
Do yourself a favor and buy the Reading Review Box. If not, you will definitely need some type of box that fits the cards for each level. For each kid (if you have multiple in AAR at any given time) you’ll need a review box. But, when that kid moves from one level to another you can just use the same box. No need to purchase a separate one for each level. I’ve saved my “old” cards for the next kid by rubber-banding them and sticking them in a drawer or ziplock or both.
You can use this same process for the All About Spelling (AAS) program as well - since the new colorful edition has similar games and activities. I just finished prepping level 1 of AAS minus the labels…and I plan to put “S-#” on each label to identify it as different from the AAR lessons. (Reasoning: AAS repeats all of the colors of AAR so I’ll be using many of the same color labels.)
If you are not into color-coding your stuff, just write directly on the sheet protectors, but include the level - not just the lesson number. (Alternately, you can leave all that off as long as the pages inside the sheet protector have the page and level info visible. I just like to do things fast. And the easier it is to see, the faster I can file or store it.)
Final Notes
I have purchased and prepped each of these levels one at a time as my oldest moved through them. However, I did go ahead and purchase a set of colored dots all at once and then saved them until I needed each color.
This prep process applies to AAR 1 through 4, not the Pre-reading curriculum. The Pre-Reading is much simpler and works well if you keep all of that level in the bag you may have purchased with the curriculum. Ziggy fits in there nicely with the other materials.
Related Digital Products…

These coloring pages supplement your All About Reading Level 1 homeschool curriculum by providing a FUN and interactive way to practice the fluency sheets!! Rather than just read the list of words, use these pages to review words and phrases with your kiddo.
**This is a DIGITAL DOWNLOAD.** No physical product will be mailed to you.
𝟓𝟐 𝐩𝐚𝐠𝐞𝐬 𝐨𝐟 𝐃𝐢𝐠𝐢𝐭𝐚𝐥 𝐏𝐃𝐅𝐬, 𝟖.𝟓” 𝐱 𝟏𝟏” (𝐔𝐒 𝐋𝐞𝐭𝐭𝐞𝐫) 𝐬𝐢𝐳𝐞
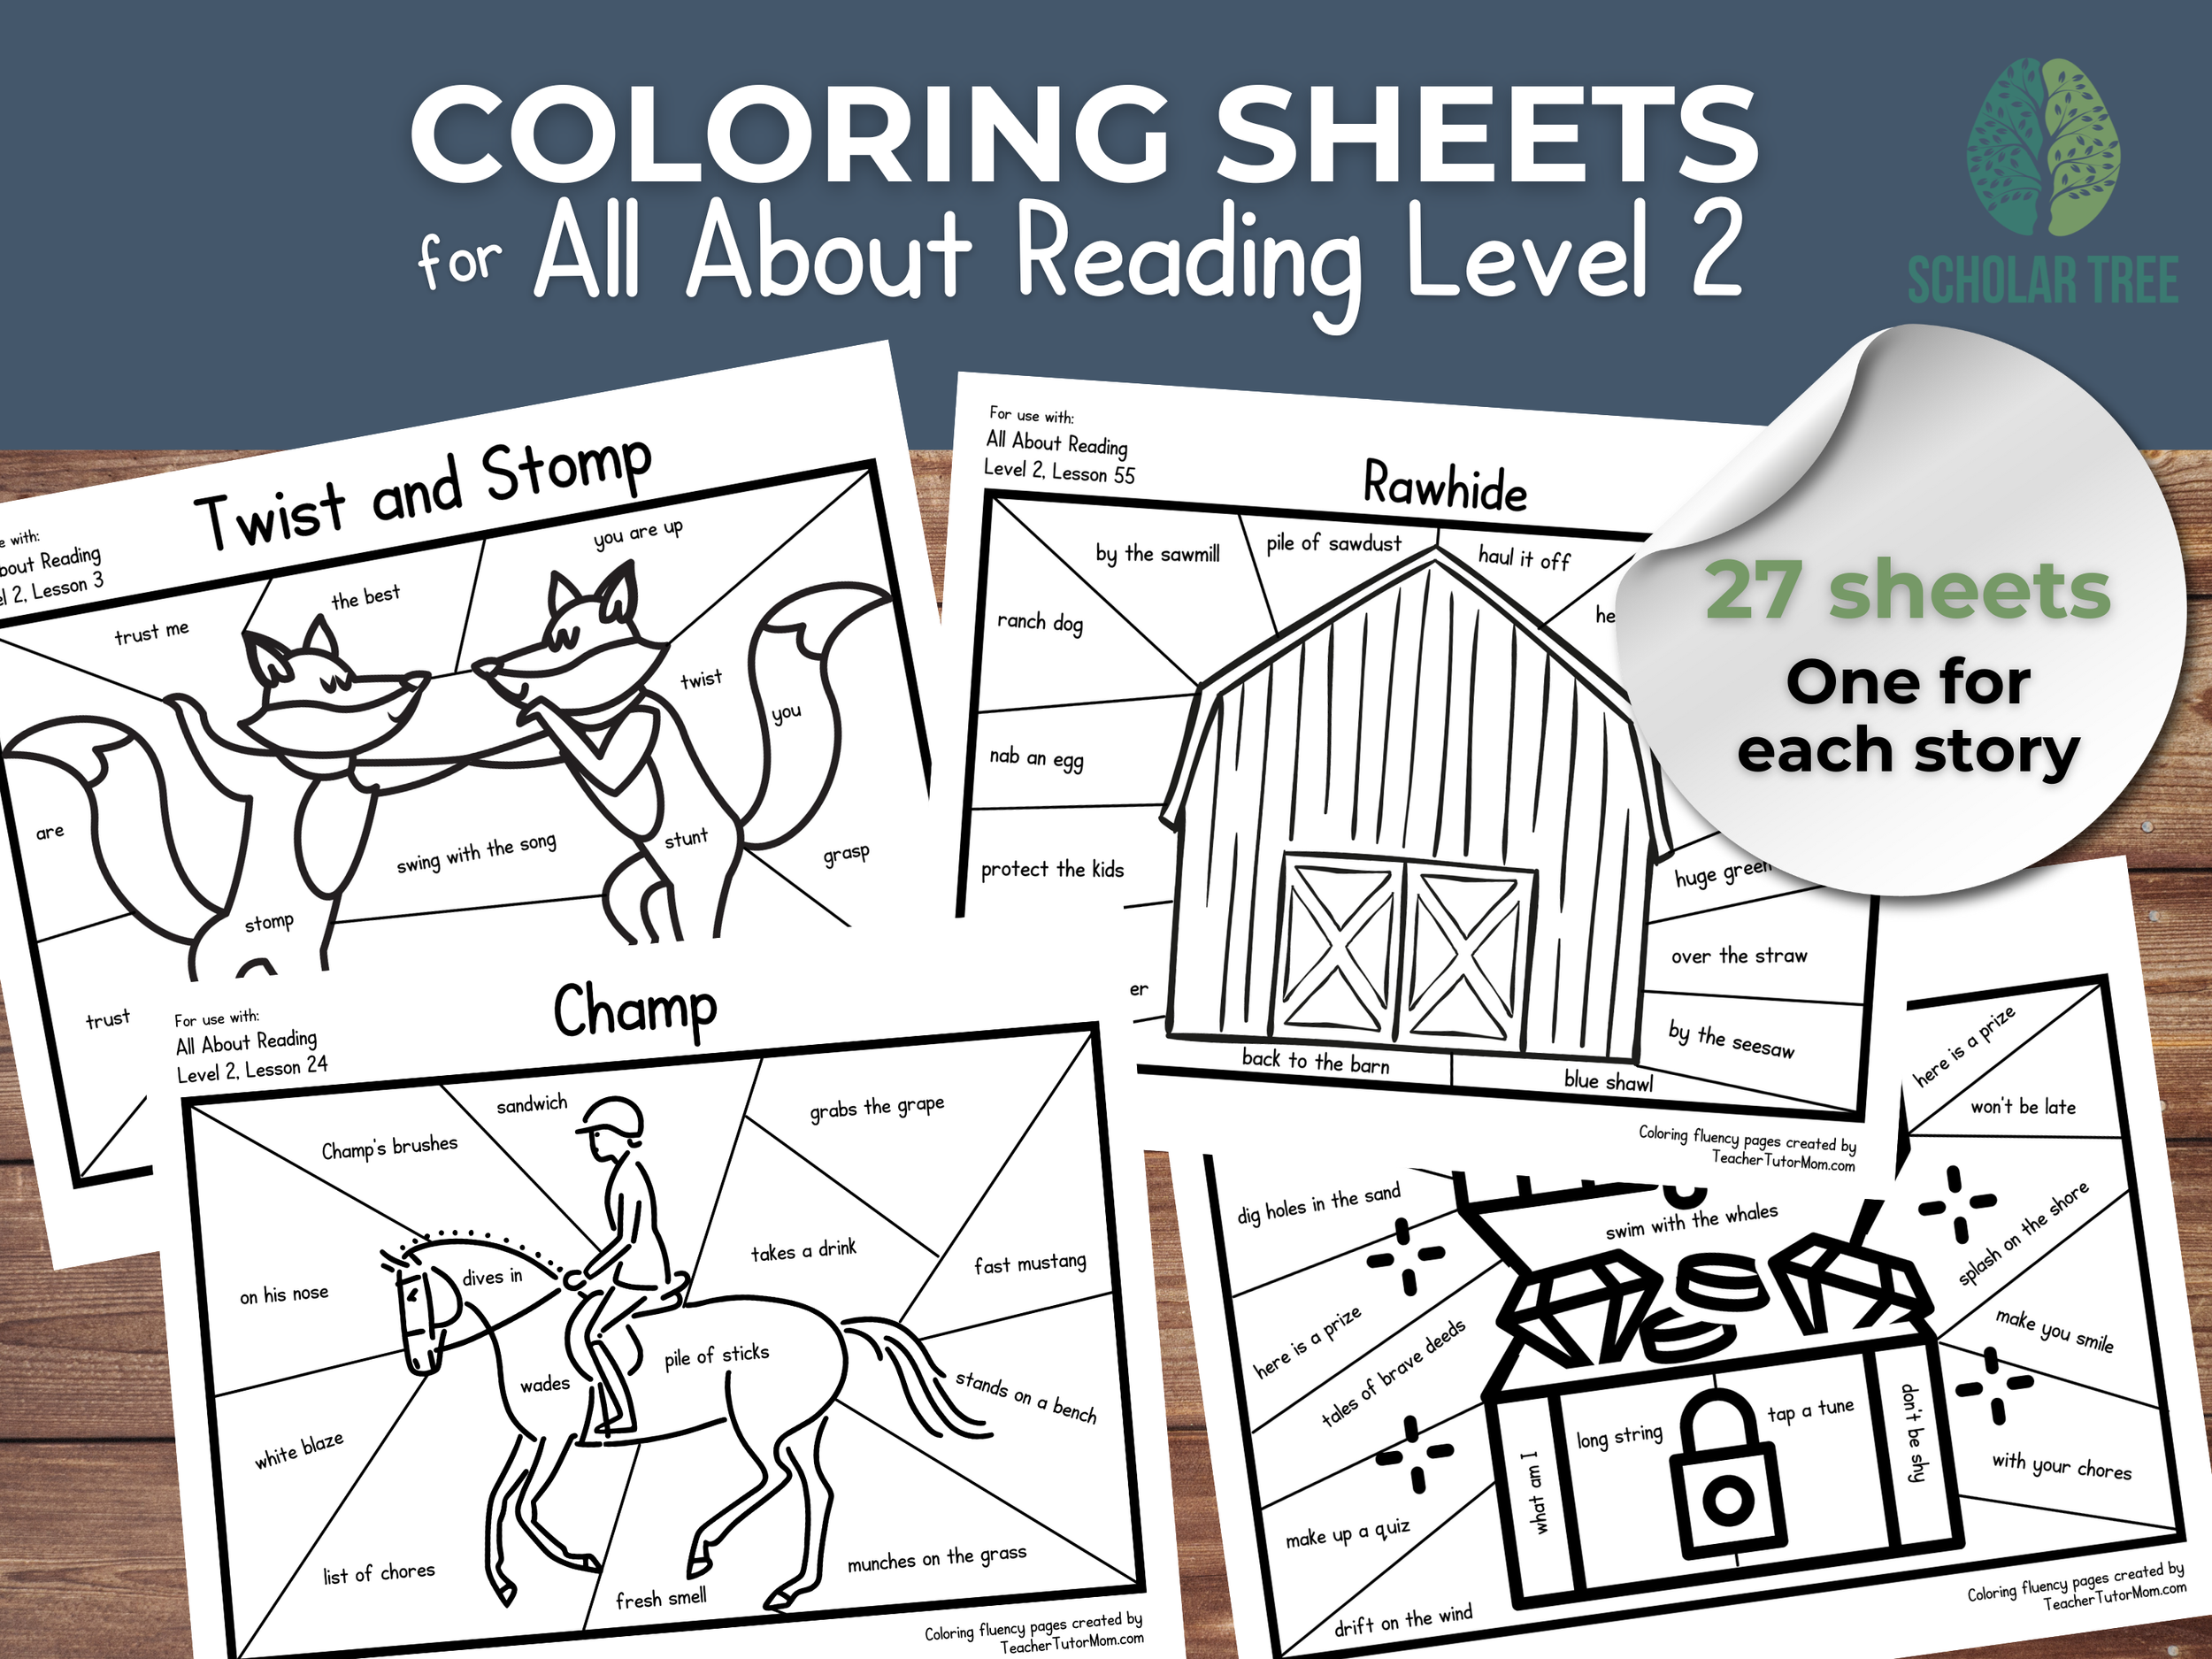
These coloring pages supplement your All About Reading Level 2 homeschool curriculum by providing a FUN and interactive way to practice the fluency sheets for each story!! Rather than just read the list of words, use these pages to review words and phrases with your kiddo.
This is a DIGITAL DOWNLOAD. No physical product will be mailed to you.
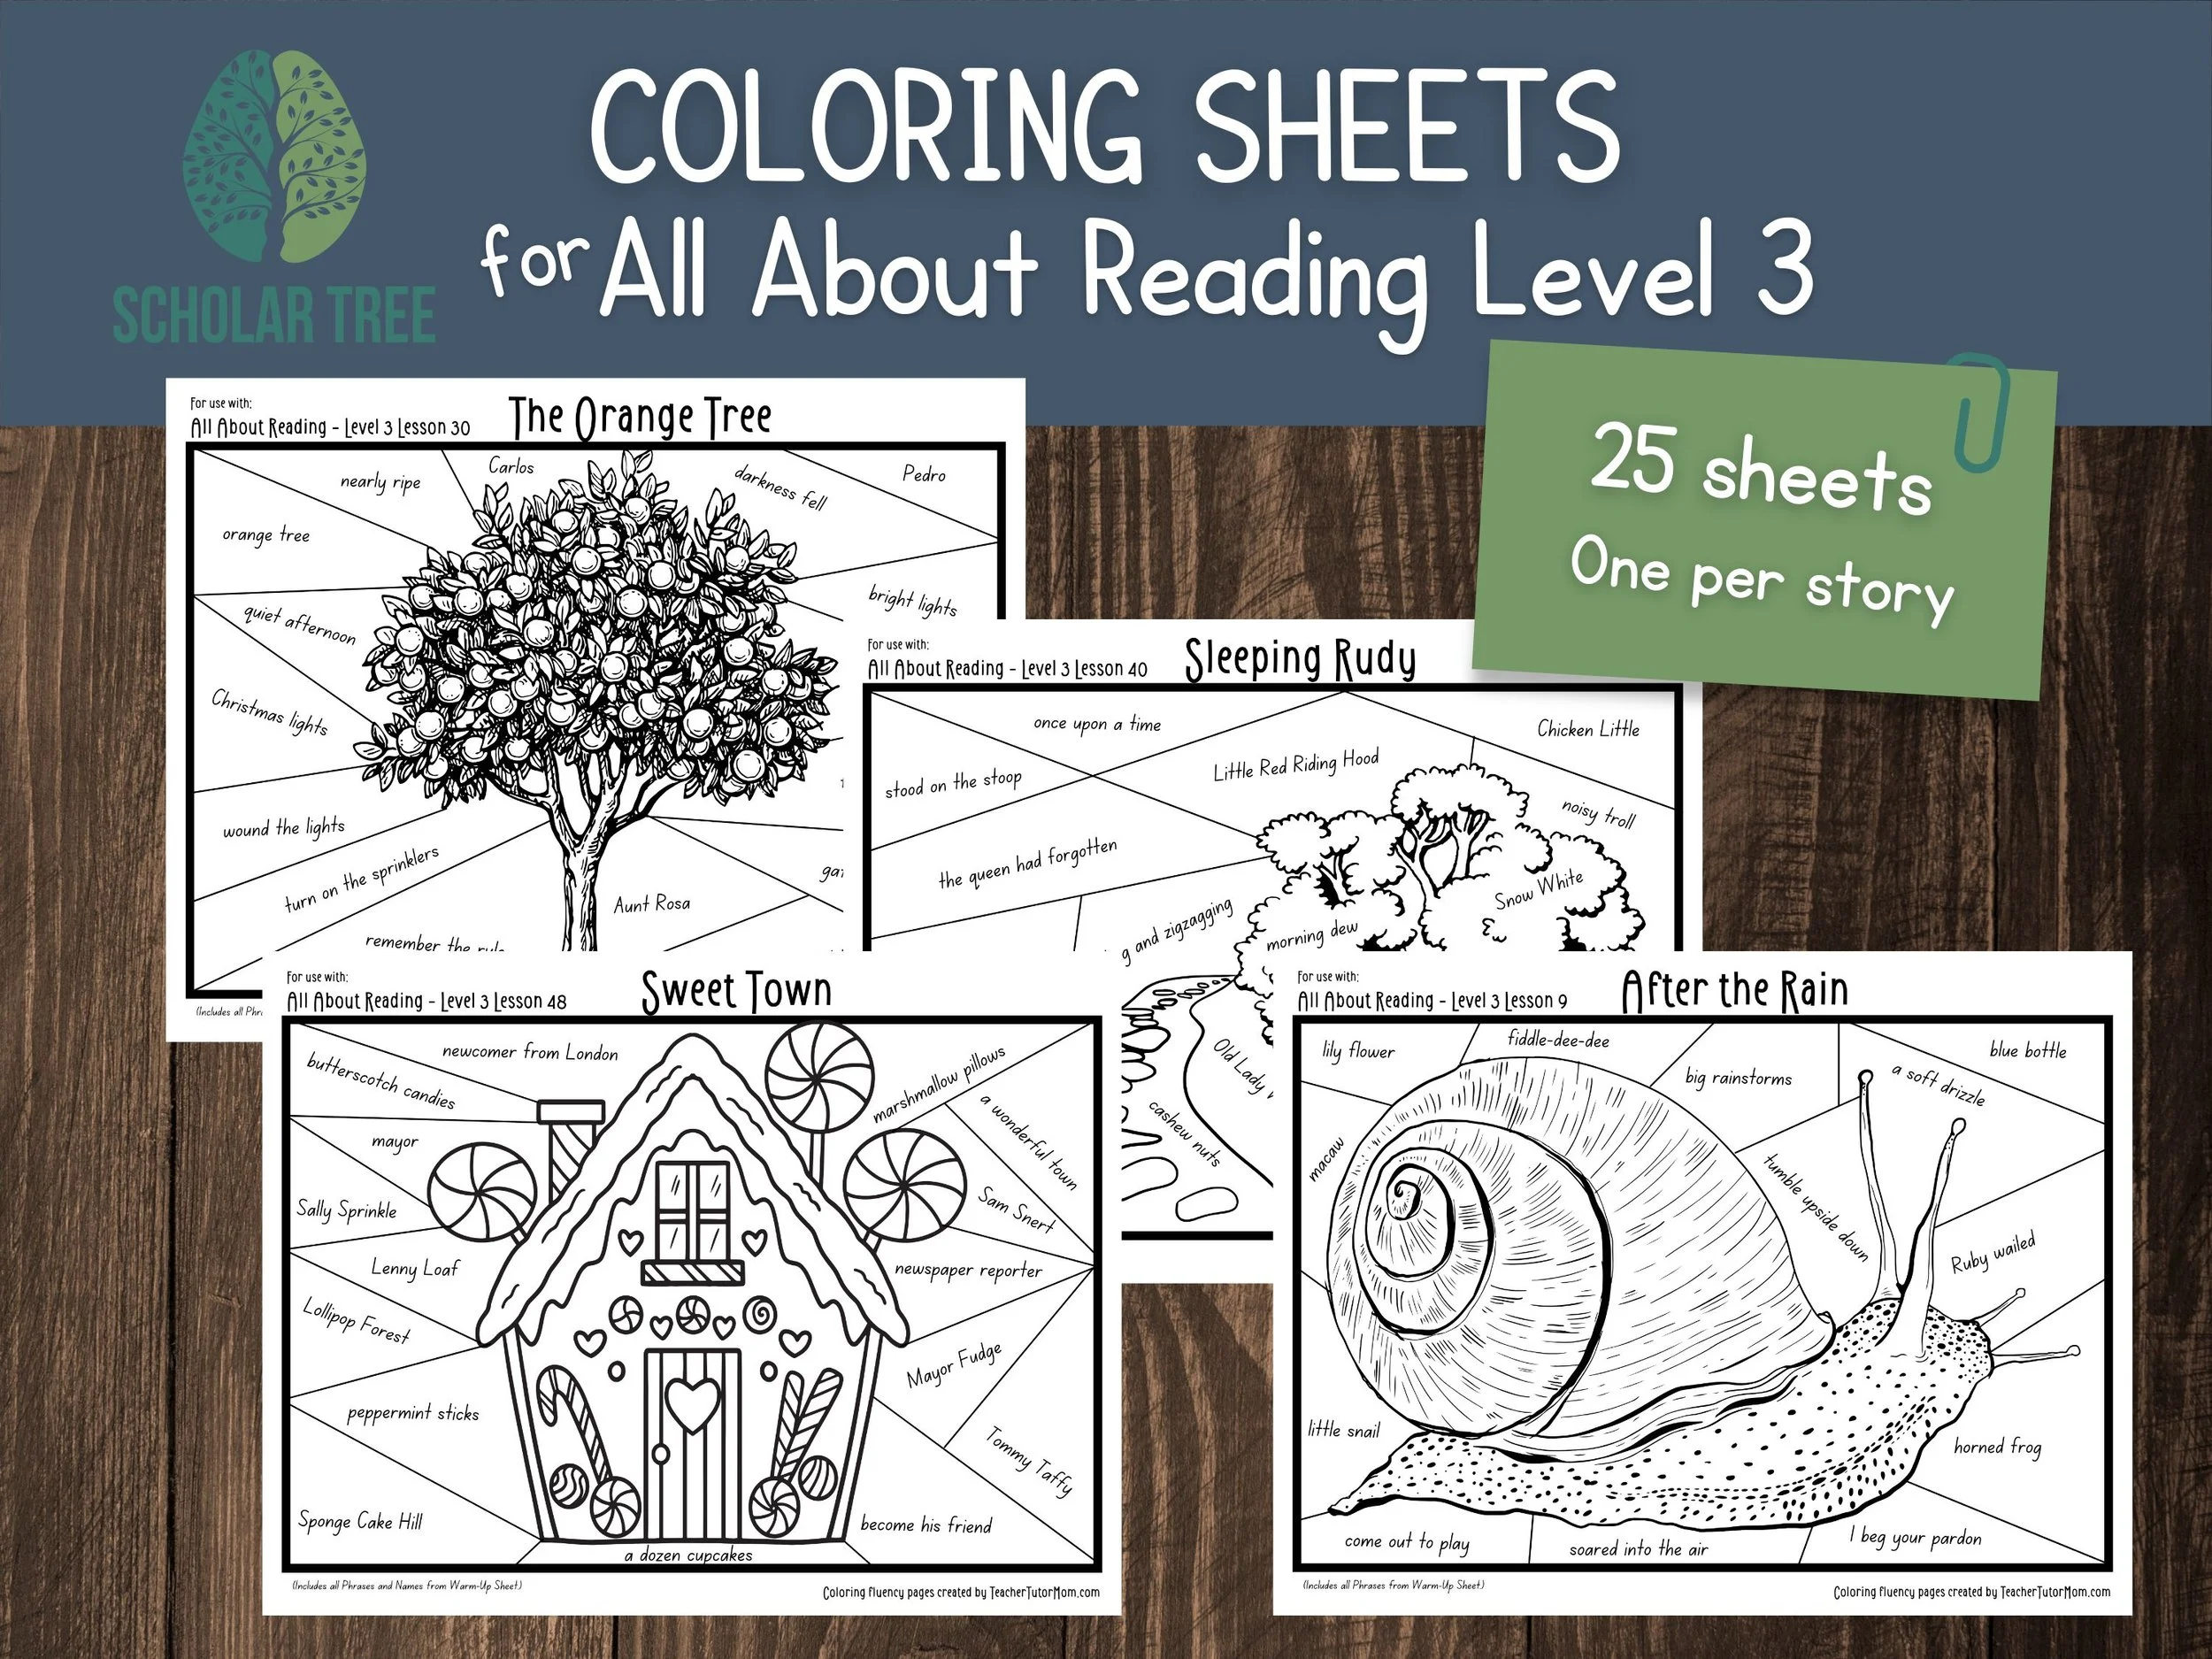
𝐓𝐡𝐢𝐬 𝐀𝐥𝐥 𝐀𝐛𝐨𝐮𝐭 𝐑𝐞𝐚𝐝𝐢𝐧𝐠 𝐀𝐝𝐝-𝐨𝐧 𝐑𝐞𝐬𝐨𝐮𝐫𝐜𝐞 𝐢𝐬 𝐚 𝐠𝐫𝐞𝐚𝐭 𝐬𝐮𝐩𝐩𝐥𝐞𝐦𝐞𝐧𝐭 𝐭𝐨 𝐭𝐡𝐞 𝐀𝐀𝐑 𝐡𝐨𝐦𝐞𝐬𝐜𝐡𝐨𝐨𝐥 𝐜𝐮𝐫𝐫𝐢𝐜𝐮𝐥𝐮𝐦 𝐥𝐞𝐯𝐞𝐥 𝟑! Instead of reading the long fluency pages, just have your kid read a section of these coloring pages and then color that section! Turn the reading fluency sheets into a game!!
This is a 𝐃𝐈𝐆𝐈𝐓𝐀𝐋 𝐃𝐎𝐖𝐍𝐋𝐎𝐀𝐃. No physical product will be mailed to you.
25 pages of Digital PDFs, 8.5” x 11” (US Letter) size
These documents contain 25 pages of printable Fluency Practice COLORING SHEETS to supplement All About Reading Level 3. A coloring page is included for each story in Level 3, with words and phrases taken from the fluency Warm-Up Sheets for each story. This is an add-on item intended for use with All About Reading Level 3.

𝐓𝐡𝐢𝐬 𝐀𝐥𝐥 𝐀𝐛𝐨𝐮𝐭 𝐑𝐞𝐚𝐝𝐢𝐧𝐠 𝐀𝐝𝐝-𝐨𝐧 𝐑𝐞𝐬𝐨𝐮𝐫𝐜𝐞 𝐢𝐬 𝐚 𝐠𝐫𝐞𝐚𝐭 𝐬𝐮𝐩𝐩𝐥𝐞𝐦𝐞𝐧𝐭 𝐭𝐨 𝐭𝐡𝐞 𝐀𝐀𝐑 𝐡𝐨𝐦𝐞𝐬𝐜𝐡𝐨𝐨𝐥 𝐜𝐮𝐫𝐫𝐢𝐜𝐮𝐥𝐮𝐦 𝐥𝐞𝐯𝐞𝐥 𝟒! Instead of reading the long fluency pages, just have your kid read a section of these coloring pages and then color that section! Turn the reading fluency sheets into a game!!
**This is a 𝐃𝐈𝐆𝐈𝐓𝐀𝐋 𝐃𝐎𝐖𝐍𝐋𝐎𝐀𝐃.** No physical product will be mailed to you.
29 pages of Digital PDFs, 8.5” x 11” (US Letter) size